Making of Our Holiday Card 2016
Background
To change the pace sometimes in between projects, here at Moso, we like to play with different tools and techniques… we get to do exactly that every Holiday Season. We dont always have the same amount of time, but always like to make something interesting, and mostly have fun doing it.
So we decided to make a tutorial and share the scenes for others to maybe learn, or critique our silly ideas.
The Concept
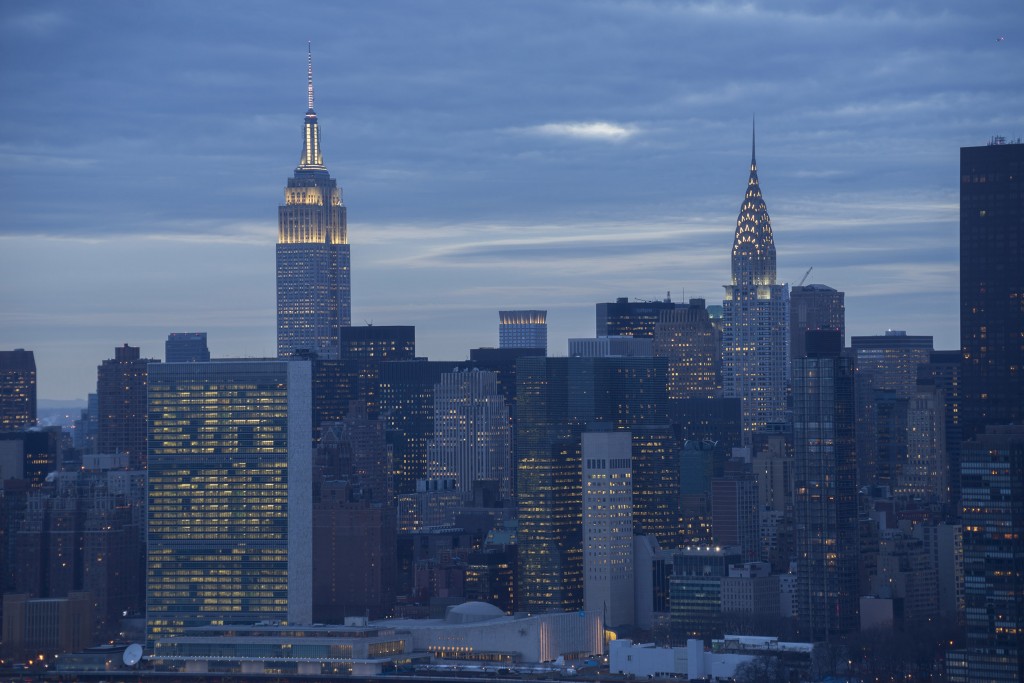
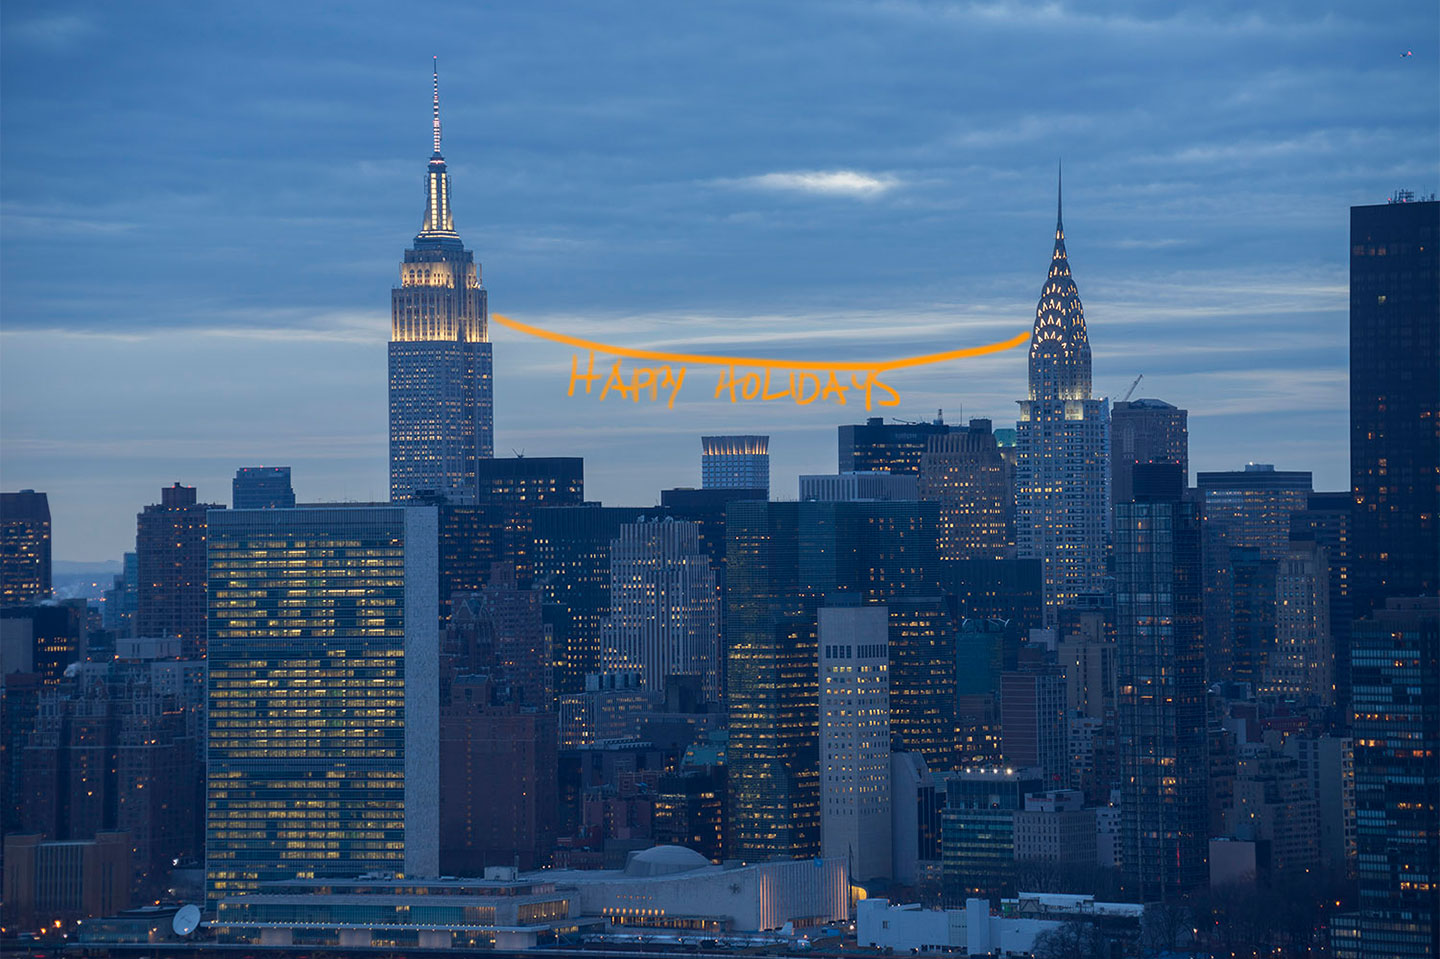
The concept behind our 2016 Holiday Card was pretty simple, we were going to hang a holiday ornament wire from the Empire State building to the Chrysler building. We initially thought we may just do a still image, base on some photos we took from a helicopter for a previous project.
After the initial sketch the idea evolved into giving a bit of drama by not showing the whole image until the end…
The Execution
Once the concept was defined, everything else just flows. We had a plan, and just needed to follow the steps.
More or less the steps involved were: Camera Matching/Mapping and Animation, Rigging (basic), Modeling of assets, Animation of Logo, Rendering and Compositing.
Camera Matching /Mapping and Animation
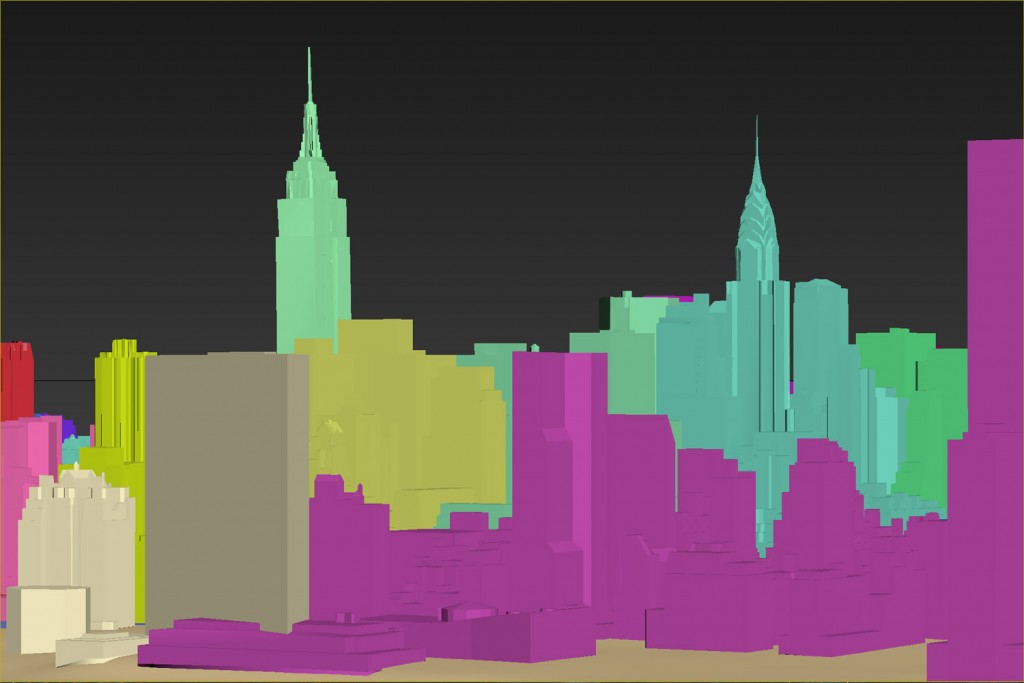
First step was to do a camera match, and animate the camera. to help this we had a really old an not up to date partial model of midtown NYC which we used for this process… we had to create a few new buildings to fit the photo but they could be low in detail, as we were planing to use the photo as much as possible.
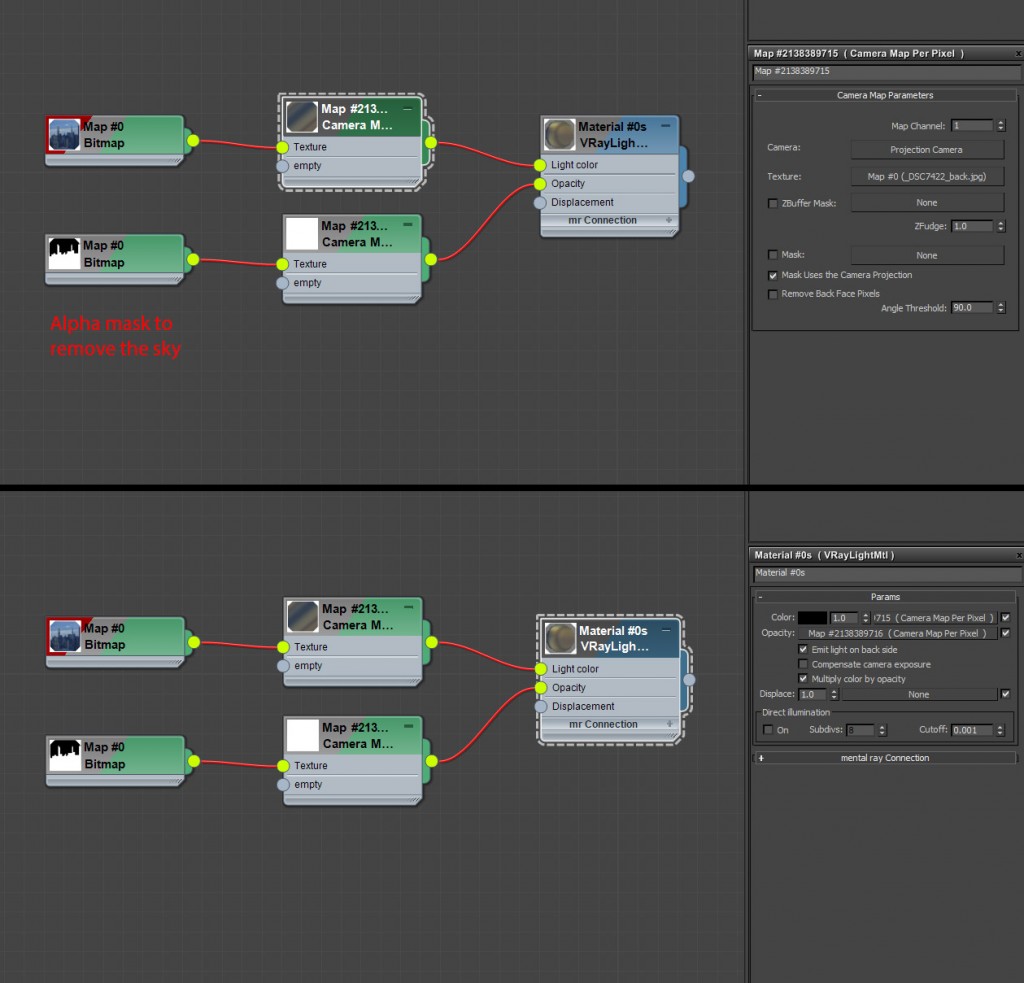
Then we setup the Camera Map Material; Is a very straight forward process, with plenty of documentation about it.
Many times for a small camera motion, or a fast camera where there will be lots of motion blur, you can use only one image to map over all your geometry. However, if there is too much parallax between your geometry elements, the texture of the front will repeat on the back objects destroying the illusion.
In this case, we created two textures one for the front objects (the original photo) and one for the next layer behind (a retouch version where we deleted partial areas of the front buildings)
We also are using an alpha mask, as the geometry of the buildings is not perfectly accurate to the photo (it never is) so this way we can make sure we don’t get remnants of the sky from the photo onto the geometry.
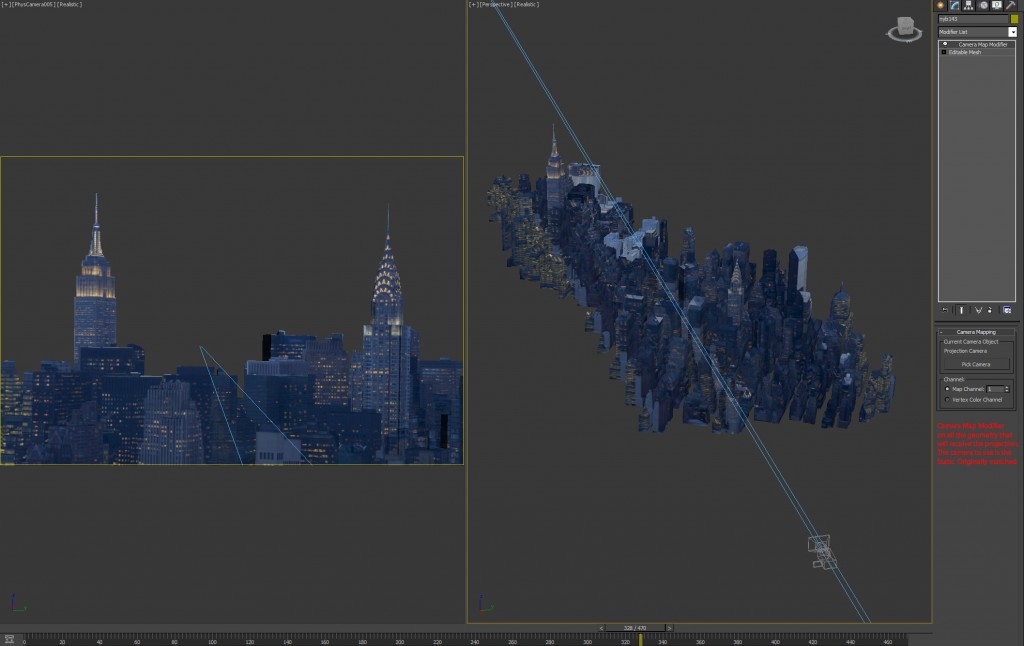
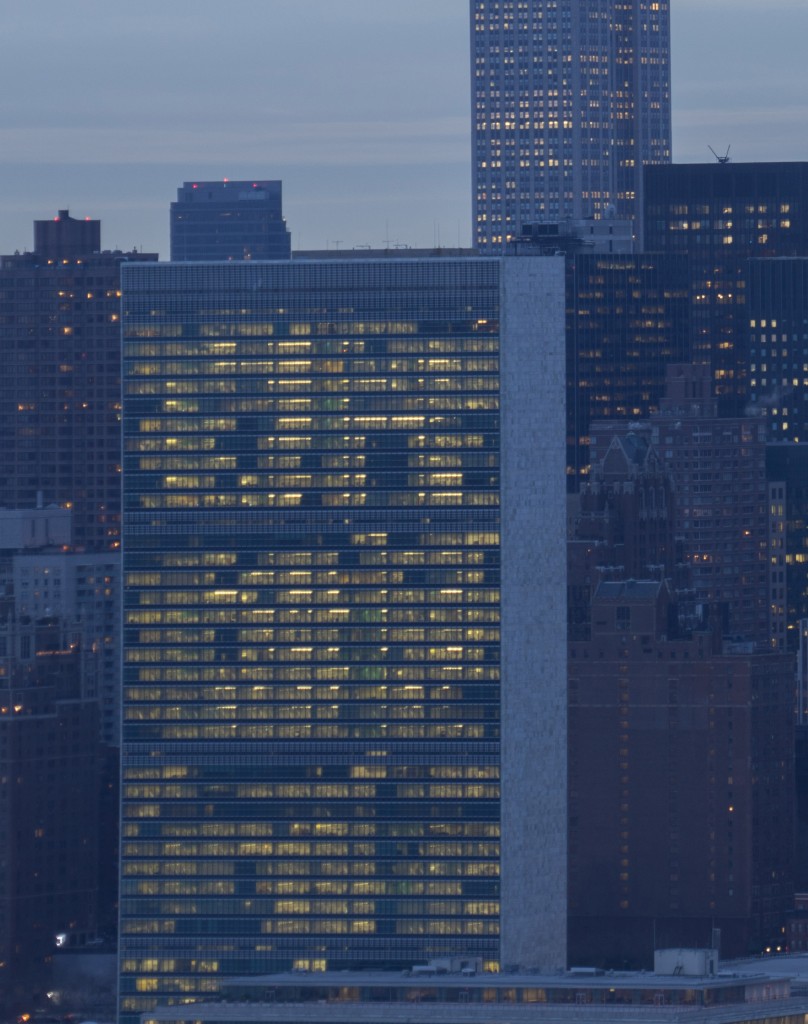
Animating the Camera was very straightforward, the only rules was not to see anything that was not visible in the original camera.
Rigging
This was a very simple setup, however, did require a few tests to make sure it was visually good enough. Our goal was to add a bit of motion to the elements hanging so they felt a bit more organic/real. especially the coins as their reflection will change and create a very sparkly effect very appropriate to the occasion.
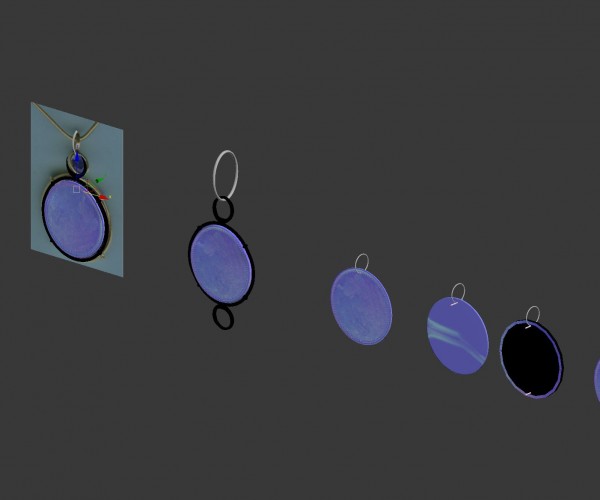
First, we tried to simulate with Pflow, and while the effect was interesting, the rotation of the coins was not actually working the way we wanted.
We then try an actual simple approach, but very flexible, using Forest Pro to scatter our coins and some noise maps to control the rotation… it wasn’t as realistic in terms of physics, but gave us a better overall effect, plus much easier to setup with a plugin we use on a daily basis.
Below are a few of the test done, the last one being done in forest and the one we ended up using.
Modeling
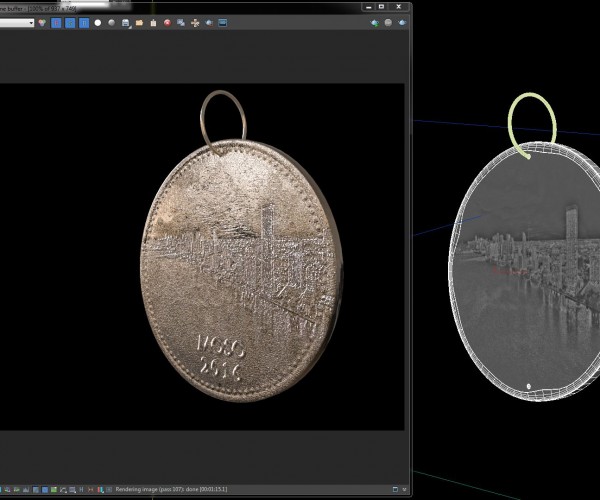
Consistent with everything else modeling was kept to a minimum. there were only a wire, bulbs and coins. The later were perhaps the once were we spend a bit more time, as we wanted to make them a bit special, so we design them to have our Logo in them.
Logo Animation
This was done again in a very simple way. we just draw a script version of our logo with a continuous spline, and then animated a Cylinder with a Path Deform modifier to travel from one end to the other.
We also rendered it as a separate pass, especially due to the fact that we multiplied the motion blur at very high values which gave us the trail effect seen on the video
Rendering and Compositing
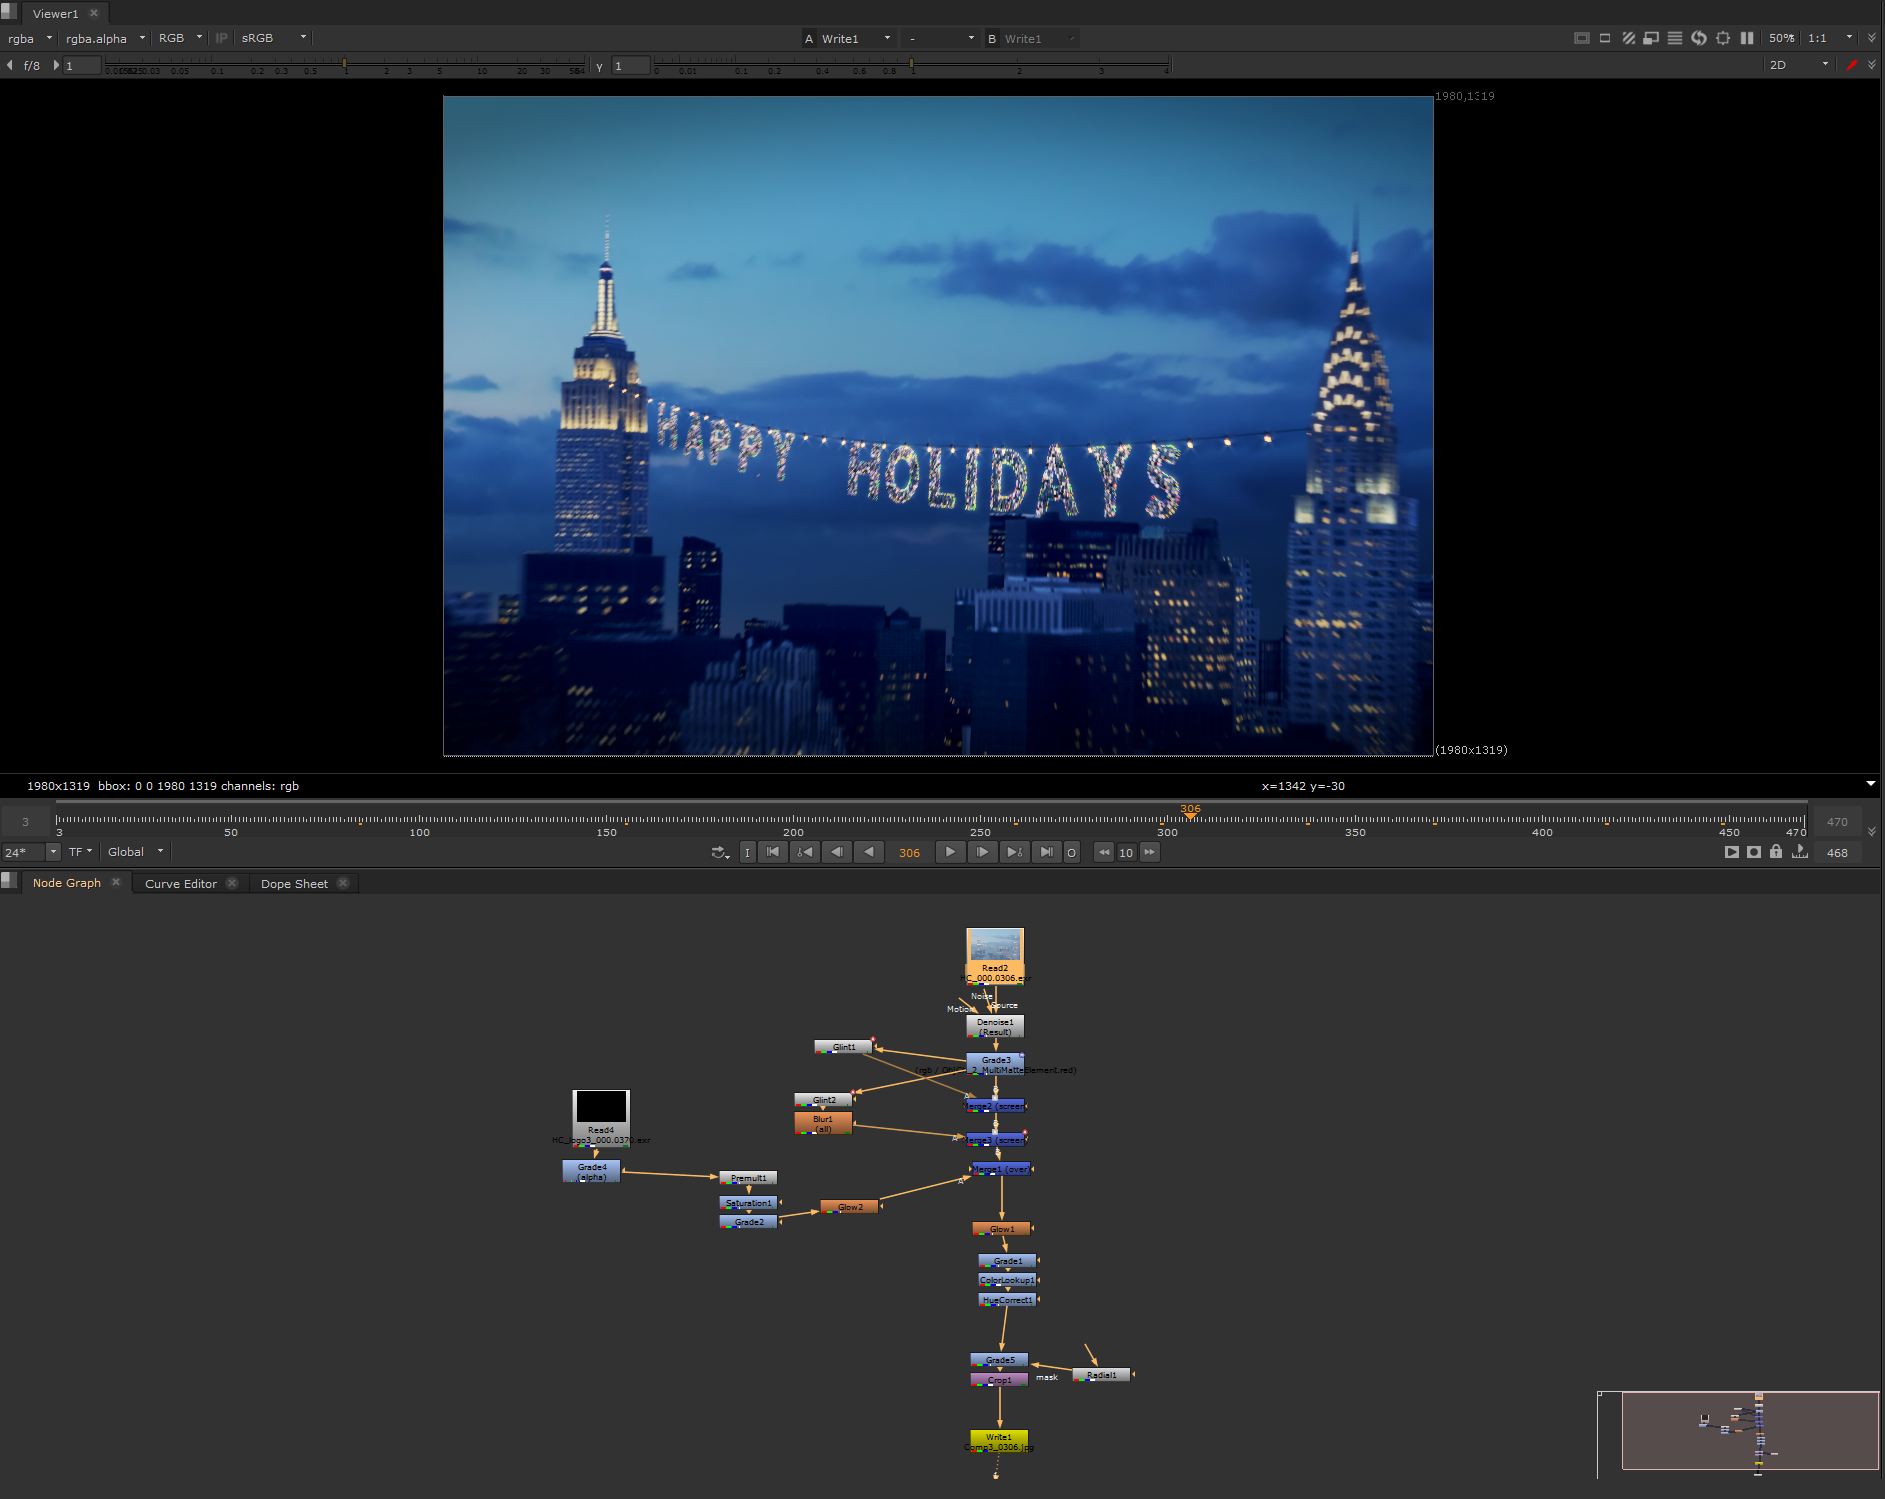
No much to share regarding this, renderings were done with Vray, (not that this amazing rendering engine was needed for such simple scene). Compositing was put together in Nuke, just two layers a few grade glint and glow nodes and that’s it.
Conclusion
We enjoyed the process of making this small video and were pretty glad with the result considering overall it was done in only 4 days.
As a little gift to whoever is interested we are sharing the 3dsMax file for anyone to look at and play with it. There are two Environment skies from CGskies, that we are not including as they are a commercial product and only a small section of the 3D buildings. Aside from that, you are free to do as you wish with the files.
More posts
3dsmax Rain Setup
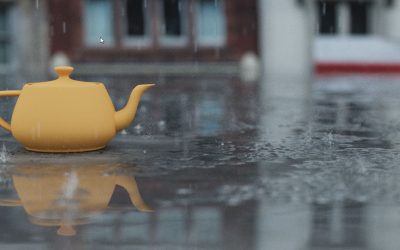
In this tutorial, we are sharing how the rain on this simple scene was created. If you want you can download the file here to follow along.
Gatherings US & Canada INBETWEENNESS
We are honored to be invited to talk about our studio and the process behind our work on the Gatherings US & Canada 2020 organized by INBETWEENNESS, a networking movement that promotes the art of architectural visualisation all over the world, by creating events and sharing resources, such as podcasts, films, articles, workshops, and among others.
Quick Environment Script V2
After over 2000 lines of code and lots and lots of testing, the new version of our Quick Environment Script is out. Get it on Gumroad! Link inside.
Quick Environment Script (QES)
This is a maxscript that was written for internal use at Moso Studio.The purpose of QES is to streamline the process of working with HDR files.
Quick Lighting Script
We have been using this tool internally for a few years now. It was written to make the process of playing with lighting iterations quicker.
Strange Behavior of Corona Render (bug?)
What we found when using a texture to modify the FresnelIOR (metalness) of an object using Corona Render is at the very least strange.
Bullet-time / Frezee-time MAXScript
When none of the Bullet Time effect Scripts we found was exactly what we wanted we decided to just write a simple one that did just what we needed.
From Canon to Sony cameras (our experience)
Why we as a studio transitioned from Canon to Sony cameras not for a matter of image quality but in order to achieve portability.
Testing the waters with VR Unreal Engine
Experimenting with Unreal Engine for a 360 sequence for the Missoni Baia project. We hope to include a tutorial on the process at some point with Unreal Datasmith.
Subscribe to Our Newsletter
We won't spam!
